
Are you tired of constantly patching up your old, worn-out roof? Or maybe it’s time for a change in style and color? Whatever the reason may be, replacing an asphalt shingle roof can seem like a daunting task. But fear not! With our DIY guide and just five easy steps, you’ll have a brand new roof over your head in no time. Say goodbye to leaks and hello to curb appeal with this simple yet effective process. Grab some tools and let’s get started on transforming your home!
Introduction to Asphalt Shingle Roofs
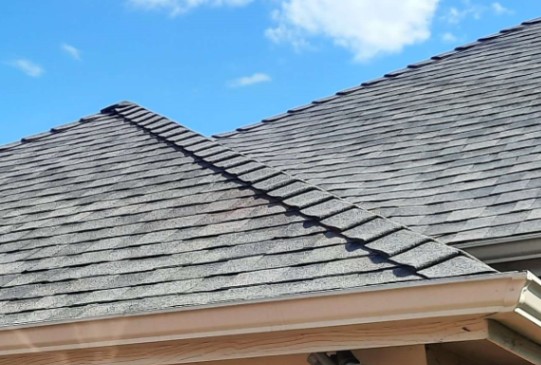
Asphalt shingles are the most common type of roofing material in the United States, and for good reason. They’re affordable, easy to install, and last 20-30 years with proper maintenance. In this guide, we’ll show you how to replace an asphalt shingle roof in just a few easy steps. We also recomend that you upgrade your shingles to 40-50-year shingles. The upgrade will not cost much and well worth it.
First, remove the old shingles by prying them up with a crowbar and pulling them off of the nails. Be sure to wear gloves and eye protection when doing this. Next, measure the area of your roof and cut the new shingles to size. Apply a layer of asphalt roofing cement to the back of each new shingle and nail it into place.
Once all of the new shingles are in place, apply a bead of caulk around the edges of the roof to seal everything up. Clean up any debris and dispose of it properly. That’s it! You’ve now successfully replaced your asphalt shingle roof.
Step 1: Removing the Old Roof
Assuming that you have already gathered the necessary tools and materials for the job, the first step in replacing an asphalt shingle roof is to remove the old roof. This can be done by starting at one end of the roof and working your way across, lifting up each shingle and removing any nails or staples that are holding it in place. Once all of the old shingles have been removed, you will need to dispose of them properly.
Step 2: Preparing the Deck
Assuming your roof is ready to be replaced, the first thing you need to do is prep the deck. This means removing all the old shingles and any nails or staples holding them in place. You also need to remove any felt paper or other materials that may be on the deck. Once the deck is clear, you can inspect it for any damage and make repairs as necessary.
Step 3: Installing the Underlayment
Assuming you have already removed the old roofing material and felt paper, you will now install an asphalt-based underlayment. This provides a secondary barrier against water and ice dams. For this step, you will need a utility knife, scissors, and either a hammer or nail gun.
- Start by unrolling the underlayment and cutting it to size with the utility knife.
- Lay the underlayment down on the roof deck, starting at the bottom edge of the roof and working your way up.
- Overlap each row of underlayment by about 3 inches (7.6 cm).
- Use either nails or staples to secure the underlayment in place.
- Trim off any excess material around the edges of the roof with scissors.
Step 4: Laying the Shingles
Assuming you have made it to this step, congratulations! You are now ready to lay down the shingles. This part is relatively easy but will take some time. Make sure to measure the area you are working on and cut the shingles accordingly. It is important to make sure the shingles fit snugly against each other so that no water or air can get through.
Once you have cut the shingles, it’s time to start nailing them down. Begin at the bottom row and work your way up. Make sure to overlap each shingle as you go so that they are all securely in place. Once you reach the top, congratulations! You have now successfully replaced your asphalt shingle roof.
Step 5: Finishing Touches
After you have replaced all of the asphalt shingles on your roof, it is time for some finishing touches. These steps will ensure that your new roof lasts for many years to come.
- Inspect your work: Once you have finished installing the new asphalt shingles, take a step back and inspect your work. Make sure that all of the shingles are securely in place and there are no gaps.
- Seal the edges: To help prevent water from seeping under the shingles, seal the edges with asphalt roofing cement.
- Apply a top coat: A top coat of asphalt roofing cement will further protect your roof and help it last longer.
- Inspect again: After you have applied the top coat, inspect your work again to make sure that everything is still in place and there are no leaks.
- Enjoy your new roof: With these simple steps, you have successfully replaced your old roof with a brand new one!
Conclusion to Asphalt Shingles
Replacing an asphalt shingle roof is a big job, but it doesn’t have to be overwhelming. By following these five easy steps, you can get the job done quickly and effectively. Make sure to take your time and do it right the first time in order to avoid any costly mistakes or future repairs down the line. With some patience and hard work, you’ll soon have a brand new asphalt shingle roof that will last for years to come!